


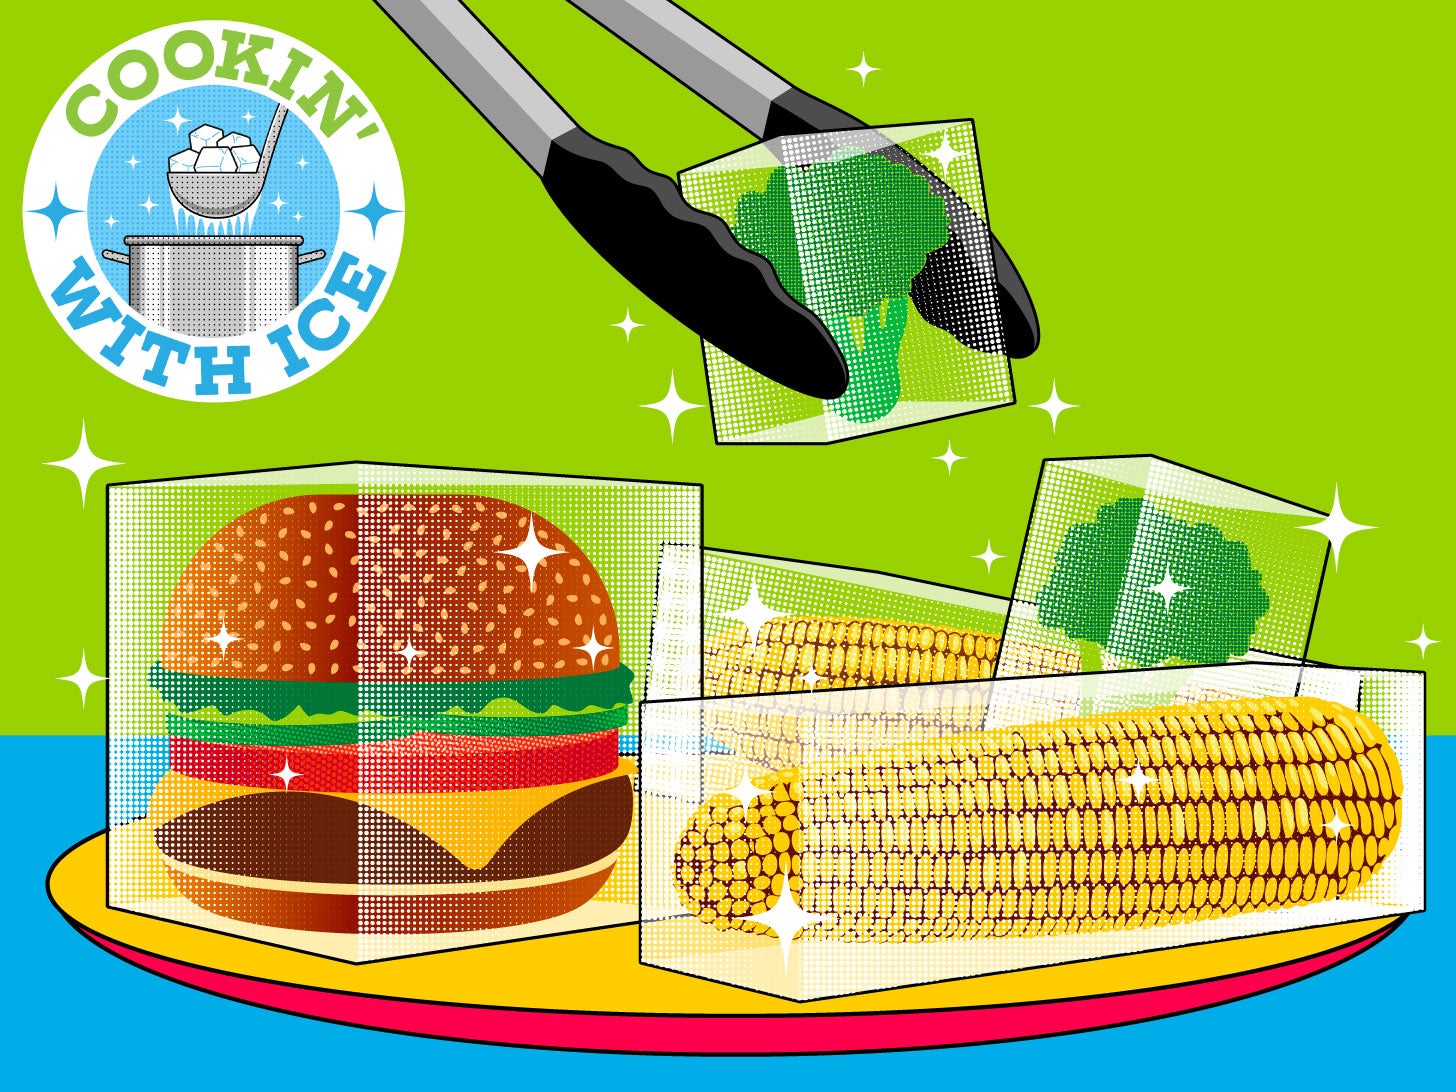
This story is part of Cookin’ with Ice, a special series laying out everything a planet-conscious cook needs to know to prepare delicious and sustainable meals right out of cold storage.
Mushy peaches, mealy potatoes, frosty rice—we’ve all been there. Sometimes it feels like your freezer is failing you. But before you decide it’s only good for Edy’s, ice cubes, and Absolut, consider this: Cutting household food waste is among the most effective ways individuals can beat back the climate crisis. The freezer can be your strongest ally in that undertaking. If you use it right.
Gleefully dining on months-old lentil soup or sipping a smoothie of last year’s strawberries requires that you understand the freezing process. Then you’ll be able to fully optimize the power of your personal food-preservation chamber. So grab your mittens, because it’s time for a super-cool chemistry lesson.
The rules of freezing
In a nutshell, freezing works because extreme cold shuts down food’s metabolic activity—as well as that of spoilage-causing microbes. Both resume once the food is defrosted. The catch: The process can also change the physical structure of the food, with some less appealing effects on texture, color, and sometimes flavor.
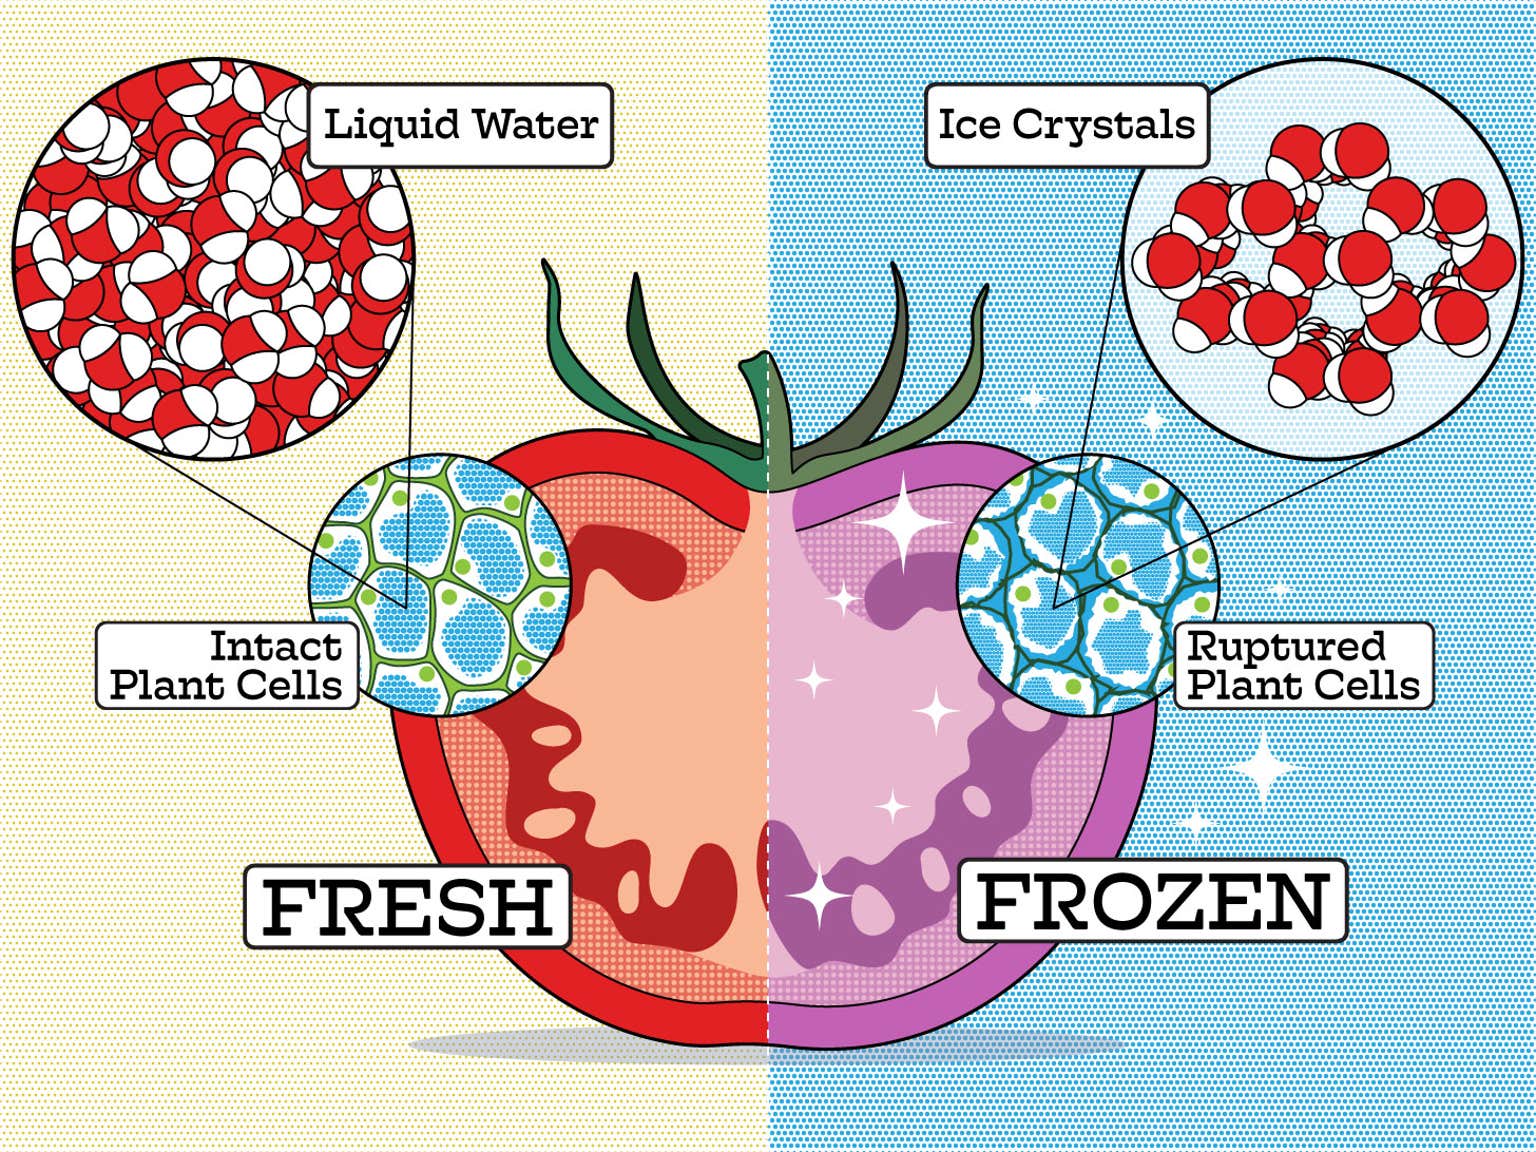
When you put a grape or celery stalk in the icebox, the food itself isn’t freezing; the water inside it is. And as those molecules chill, they become ice crystals. “When this water freezes, it expands, damaging the cellular structure of the plant tissue, which upon thawing results in wilting and discoloration of the food,” explains Paul Dawson, a food scientist at Clemson University, who’s studied the effects of freezing on fruit. We’ve all encountered what that means: Icy carrots lose their snap, and a frozen-and-thawed tomato deflates.
Temperature swings and improper packing can also make grub unappetizing when it emerges from the icebox, but you don’t have to worry about nutrition loss. “Fruits and vegetables start losing freshness and, consequently, nutrients faster when stored at ambient temperatures than when frozen,” Dawson says.
There’s no way to flat-out stop all the less-than-savory byproducts of putting food on ice, but there are ways to keep the quality of chilled vittles from slipping too far downhill.
Rule 1: Freeze fast
Size matters, at least where ice crystals are concerned: Large ones do more damage than small ones, and their footprints depend on the temperature at which the food is frozen. A slower freeze—the type that occurs within our home appliances, which are ideally set at about zero degrees—creates larger crystals than those in an industrial chiller that can hit minus 40. That’s why the frozen mango chunks you bought at the supermarket keep their shape when you bring them to room temperature, while the ones you froze yourself don’t.
What you can do:
Set your freezer to its lowest setting.
Cool food in the fridge (or outside in sub-45-degree weather) before moving it to the freezer.
Freeze things as flat as you can. Spreading things out on a cookie sheet, for example, helps maximize surface area.
Separate what can be separated—like slices of bread—so you’re not freezing a big block of food.
Rule 2: Keep air out
Ice is the primary culprit for off-putting textures, but air is a close second. It’s largely responsible for discoloration and freezer burn. Off colors happen because of natural enzymes known as phenol oxidases, which are the ones that turn cut apples brown. “The oxidases require oxygen,” Dawson explains, “so excluding oxygen will prevent browning.” Too much air and inconsistent temperatures also lead to the ash-colored, exterior-shriveling menace known as freezer burn.
What you can do:
If wrapping (in freezer paper, foil, or plastic), do it tightly.
Press out as much air as possible from freezer bags, leaving about a ½ inch of space at the top to allow for expansion. If you have a vacuum sealer, use it.
For the love of all things tasty, keep the freezer door shut.
Understand that freezer burn isn’t unhealthy, just unappealing. If it only affected a small part of the food, just cut it off.
Rule 3: Thaw safely
As food wakes up from cold-storage, so too do the microbes that were there in the first place. And once that defrosting blob of refried beans gets warmer than 40 degrees, those baddies can start to multiply, which is how foodborne illness happens. According to the USDA, the defrosting danger zone lies between 40 and 140 degrees, which is all-too-easily achieved if you let food thaw on the counter (or with warm water), where it’s likely to remain frozen on the inside after those newly revived bacteria start to party on the surface.
What you can do:
Thaw in the refrigerator. This is the slowest method, but if you freeze things flat, it’ll go faster.
If you’re in a medium-rush, defrost food in a bowl of cold water that you change every 30 minutes.
For the quickest thaw, zap frozen goods in the microwave, but avoid using plastic containers. These can break down into microplastics.
Know the key signs of spoilage. Toss food that’s got a funky odor or flavor, has mold, bubbles, or foam, or is severely discolored—though in some cases, like with brown fruit, this often just means the unattractive, not inedible.
How to freeze anything
The best methods for applying these rules vary depending on what you’re looking to toss in the chiller—and how you want to use it afterward. Here’s how to wield your newfound freezer knowledge on some of the most common (and most commonly wasted) vittles in a plant-forward kitchen.
Fruit
Cut it up into smoothie- or bite-size pieces, and consider dipping them in lemon juice, which will help them retain their color once defrosted. (Acid deactivates the browning enzymes.) Freeze pieces flat on a tray, then transfer to a freezer bag or container.
Vegetables
Heat zaps the enzymes that turn food brown, so most veggies will benefit from a quick blanching—boiling for a minute or two before plunging into a bowl of ice water—before you chuck them in the freezer. It’s also a good idea to slice or chop them into whatever size you’re likely to use later, and cook them while they’re still frozen: It’ll take a few minutes longer, but they’ll retain their texture better if they don’t go through a slow thawing process.
Leftovers and batch-cooked meals
Consider using the freeze-flat method when possible; it’ll ensure that your food chills (and ultimately defrosts) quickly. Put prepared foods in a freezer bag, lay it flat on a sheet tray, and squish out any air. Whatever container or wrapping you choose, make sure it’s airtight.
Eggs
Eggs are among the most-tossed items in American kitchens, but even they can freeze. Yolks can thicken at low temps, so either beat them together with whites before chilling or keep the two parts separate. Beaten eggs are great for baking and recipes, and solo egg whites whip up well in meringues and frosting.
Scraps
All those vegetable trimmings you might once have tossed in the bin are the backbone of flavor for future stocks and sauces. Collect things like onion butts and celery ends in a labeled container or freezer bag; when it’s full, simmer it all in a pot to create a yummy homemade broth. Keep a similar vessel for compost-bound scraps like citrus peels and plate scrapings.
Ingredients for meal prep
Recipes often call for a little of this and a little of that, and extra bits get forgotten in the fridge. Ice cube trays are another way to separate and save anything from coconut milk to tomato paste to pesto for a faster freeze. Of course you don’t have to reserve this practice for leftovers. If you have the foresight to apportion and freeze meals, ingredients, and anything in the fridge you don’t think you’ll use quickly, your future self—and the planet—will thank you.